PSP Designs 2
BLOGUMA HOŞ GELDİNİZ__Msrf Designs and Tutorials
.
12 Mayıs 2019 Pazar
Flower Line
FLOWER LİNE
This tutorial has been made with Psp9, it's also possible with other versions of Psp.
İf you want to present my tutorial on your forums or sites, please ask to me first.
İf you publish your creation on a site or a blog,
please put a link towards the tutorial if you create a tag.
Thank you to understand and respect the rules.
©Msrf Designs
Used Filters:
Simple
Alien Skin Eye Candy 5: İmpact
MuRa's Meister
AAA Frame
Materials:
1 Woman tube (SuizaBella_Ref_AG-0027)
1 Mask (Lia_mask-BL)
1 Misted tube (Salon png_Msrf Designs)
2 Deco
1 Flower Line-Text_Msrf Designs
1 Selection (Flower line.PspSelection)
1 Color palette
Materials
download
Alternative material
link
Preparation:
Copy
Flower line.PspSelection
> Go to > My Psp Files > Paste to
Selections
folder
Used colors:
#404040 #ffffff #b50040 #6c001e
You can change blend mode or opacity according to your color
Tutorial:
1
File-New-New İmage 1200 x 750 px.
2
Set your Foreground color to #404040 ve Background color to #b50040
Fill
with the foreground color : #404040
3
Adjust- Adjust/Remove Noise-Add Noise > Random, Noise: 10
4
Layers- New raster layer
Fill
with #ffffff
Open Mask ( Lia _mask- BL)
Activate your work
Layers-New mask layer-From İmage
Layers-Merge-Merge group
Effects-Edge effects-Enhance
Layers properties > Blend mode: Hard Light
5
Effects- Plugıns> Simple-Diamond
Layers- Duplicate
İmage-Flip
Layers properties > Blend mode: Burn
6
Layers-New raster layer
Selections- Load/Save Selection- Load Selection from disk > Flower line
Fill
with #b50040
7
Effects-Plugıns> Alien skin Eye Candy 5: İmpact > Glass
Settings > Clear, No Drop Shadow
Selections-Selection none
8
Effects-Plugıns> MuRa's Meister > Perspective Tiling
9
Layters- Duplicate
İmage-Flip
Layers-Merge- Merge down
10
Effects- Geometric effects > Pentagon > Edge mode: Repeat
11
Layers-Duplicate
İmage-Mirror
Layers-Merge-Merge Down
Layers properties >Blend mode: Multiply
12
Layers-Duplicate
İmage-Flip
Layers-Merge-Merge Down
13
Layers-New raster layer
Fill
with #b50040
14
Selections - Select all
Selections- Modify- Contract 2 px.
Press
DELETE
Selections-Select none
İmage - Resize %90
Resize all layers: Uncheck
15
Effects-Reflection Effects-Kaleidoscope
16
Layers-Duplicate
İmage-Mirror
Layers-Merge-Merge down
Layers properties> Blend mode: Dodge
17
Activate Copy of Group - Raster 2
Layers- New Raster Layer
Selections-Select all
Selections- Modify -Contract 40 px.
18
Open the Misted tube (Salon png)
Edit- Copy
Activate your work
Edit- Paste into selection
Selections- Select none
19
Layers-Merge-Merge Visible
Effects- Plugıns> AAA Frame -FOTO FRAME
20
Open the Deco 1
Edit-Copy
Activate your work
Edit-Paste as new layer
(
Warning:
If you want, you can change the color with > Adjust- Hue and Saturation > Colorize )
21
Open the Deco 2
Edit-Copy
Activate your work
Edit- Paste as new layer
Effects-İmage Effects-Offset
22
Open the Flower Line-Text
Edit-Copy
Activate your work
Edit-Paste as new layer
23
Open the SuizaBella_Ref_AG-0027 tube
Edit-Copy
Activate your work
Edit-Paste as new layer
24
İmage-Resize % 72
(Resize all layers : uncheck)
(
Warning:
if you use a different tube, you can use a smaller or larger percentage)
Adjust-Sharpness-Sharpen
25
Effects-İmage Effects- Offset
26
Effects-3D Effects- Drop Shadow ( 0/-10/ 60/10) Black
27
Add your name or watermarkt
28
İmage-Add borders 2 px. Symmetric #6c001e
29
İmage-Resize Width: 900 px.
30
File-Save as > Jpeg
The result is below:
Another version:
Woman tube: Ildiko_Design
Misted tube: Msrf Designs
Thank you
May 2019
İf you wish you can post your versions on my
Facebook
page
Your versions:
Thank you Mieke (Psp art Harmi)
Mieke (Psp art Harmi), 2. version
Merci Franie
Franie 2. version, Merci
Thank you Pinuccia
Pinuccia 2. version, Thank you
Thank you Coby
Thank you Monika
Thank you Bernadette
Thank you Helma (Whitelady)
Thank you Carla
Thank you Mia
Thank you Ria
Ria, 2. version, thank you
Thank you Garances
Thank you Everdina
Thank you Blackgipsy@
Thank you Geertje
Thank you Rieke
21 Aralık 2018 Cuma
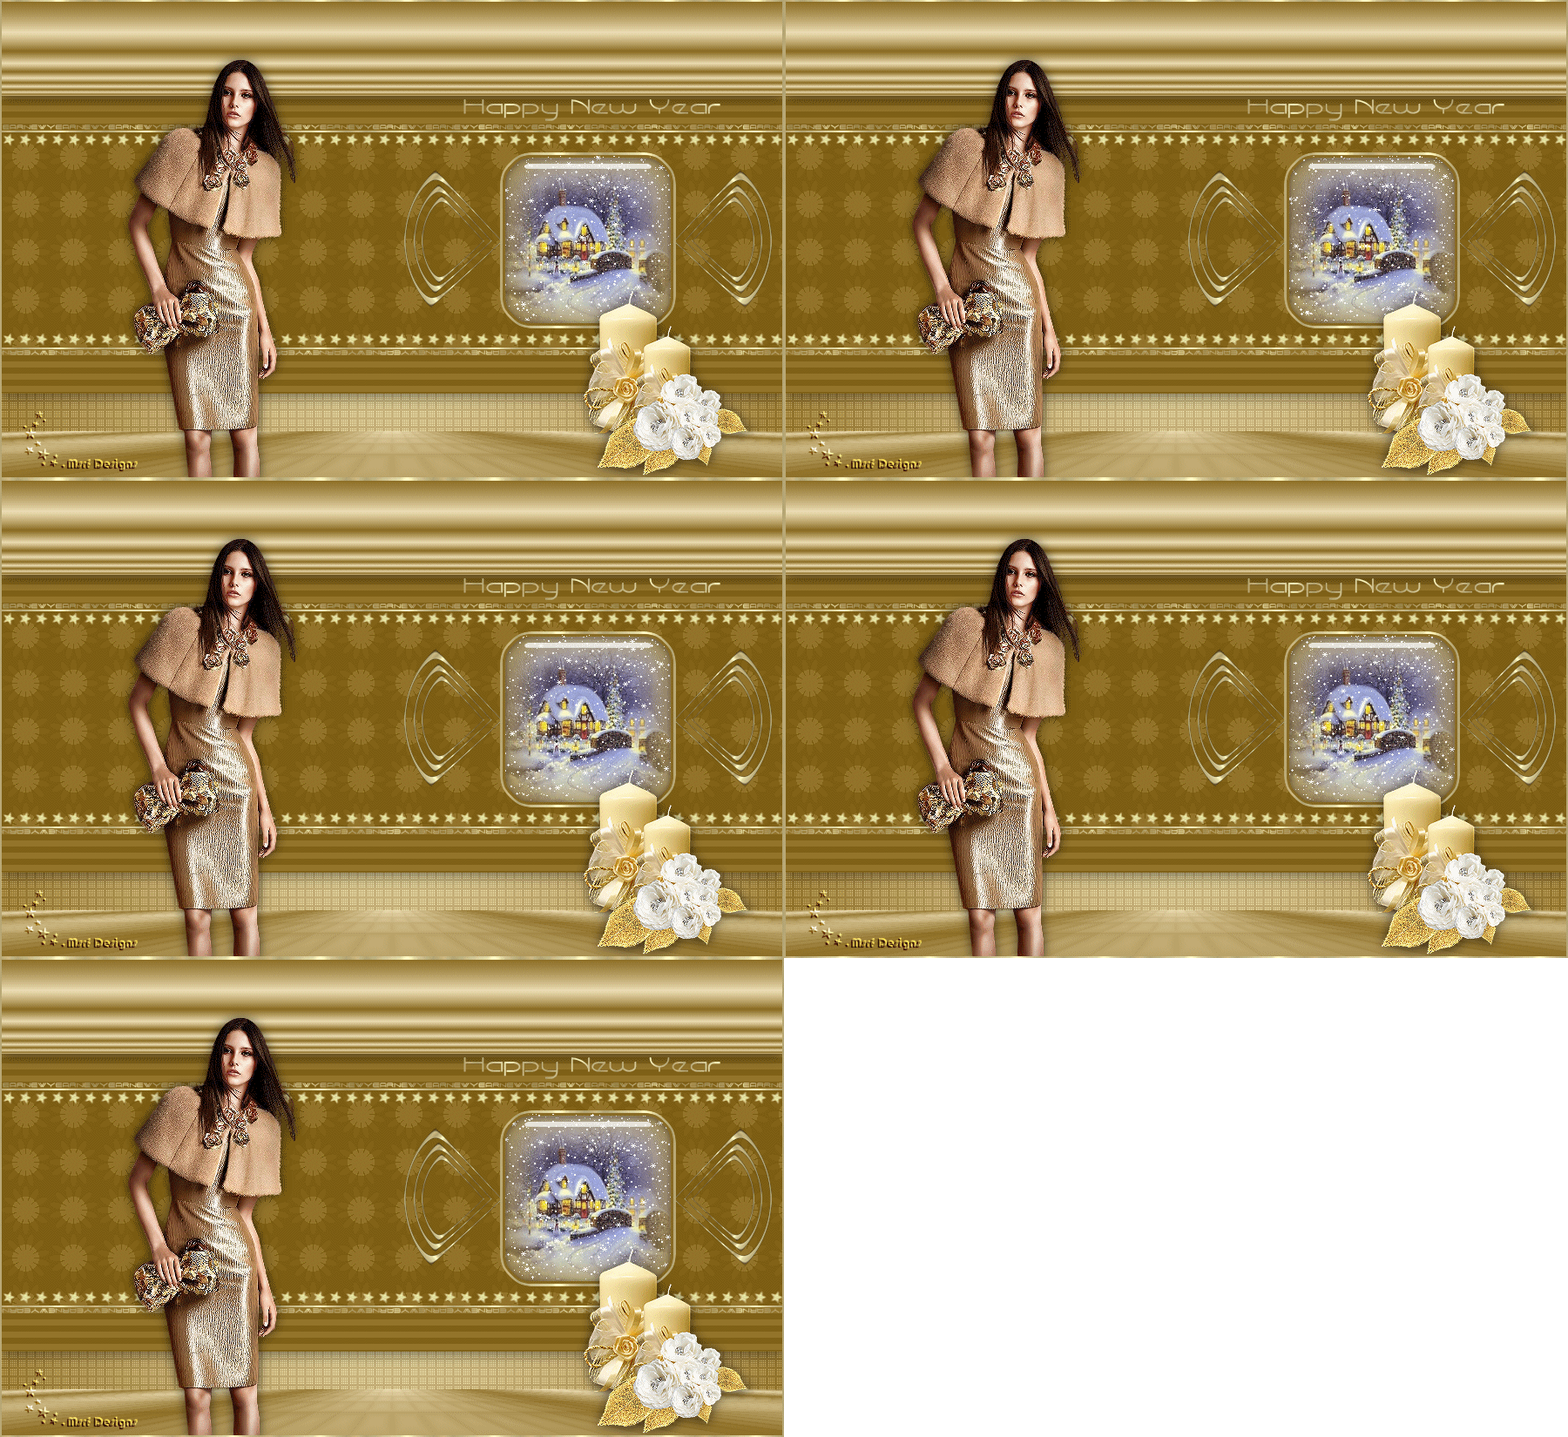
Happy New Year
This tutorial has been made with Psp9, it's also possible with other versions of Psp.
İf you want to present my tutorial on your forums or sites, please ask to me first.
İf you publish your creation on a site or a blog,
please put a link towards the tutorial if you create a tag.
Thank you to understand and respect the rules.
©Msrf Designs
Used Filters:
Oliver’s Filters
MuRa’s Meister
Gittes Plugın
Universe
Materials:
Winter scene
Snowman
Text1
Text2
color palette
User Defined Filters (Emboss)
Sneeuwvlokjes 01 (Pi
cture Frame)
Materials
download
Alternative material link
Used colors:
#1c706f
#ffffff
You can change blend mode or opacity according your color
Preparation:
Copt the
Preset_UserDefinedFilter_Emboss >
Go
> My Psp Files >
paste to
Presets
folder
Copy the
Sneeuwvlokjes 01 >
go
>
My Psp Files
> paste to
Picture
Frames
folder
.
Tutorial:
1-
File-New-New İmage 900 x 500
2-
Materials >
Set your Foreground color to #1c706f
Set your background color to #ffffff
3-
Material Properties > Gradient > Linear style
Angle: 45 Repeats: 1
Flood with the
gradient
4-
Layers- Duplicate
İmage-Mirror
Layers Properties > Blend mode: Luminance
Layers-Merge-Merge Down
5-
Layers- Duplicate
Layers Properties > Blend mode: Luminance
Effects-Plugıns > Oliver’s filter’s-Rayons de soleil
6-
Effects-Plugıns > MuRa’s Meister-Pespective Tiling
Effects- 3D Effects- Drop shadow
-5
/0/35/25 black
7-
Activate Raster 1
Effects- Geometric Effects > Perspective -Horizontal
Distortion: 65 Edge mode: Wrap
İmage- Mirror
8-
Effects-Plugıns > gittes plugıns -Gitter sinus waves
9-
Effects-Plugıns > Universe-Textured Stars > Texture: Star with corona
10-
Open the snow scene
Edit-Copy
(
Warning:
if you use a different view
Image> resize with wide edge ( width) 500 px. resize to be.)
Edit-Paste as new layer
Raster Deform Tool
11-
Effects- Reflection Effects-Rotating Mirror
12-
Activate Copy of Raster 1
İmage-Picture frame
Sneeuwvlokjes 01
Effects- 3D Effects-Drop Shadow
black
13-
Open the snowman
Edit- Copy
Edit- Paste as new layer
Active Raster Deform Tool, place it like this
Effects- 3D Effects-Drop Shadow
14-
Open Text1_Mutlu Yıllar_Msrf Designs or Text 2_Happy New Year_Msrf Designs
Edit- Copy
Edit- Paste as new layer
Active Raster Deform Tool > place it like this
Effects-Used Defined Filter > click > Preset: Emboss
15-
İmage-Add borders 1 px. Symmetric FG: #1c706f
İmage- Add Borders 40 px Symmetric BG: #ffffff
İmage-Add borders 1 px. Symmetric FG: #1c706f
16-
Add your name or watermarkt
İmage- Resize 900 px.
17-
File-Save as > jpg
Another version:
Tubes from net
Thank you
December 2018
İf you wish you can post your versions on my
Facebook
page
or
Google
page
Merci Franie
Thank you Pinuccia
Thank you Pinuccia
15 Aralık 2018 Cumartesi
Happy New Year2019
Happy New year
Tutorial:
Kamil
Psparena
Woman tube:Azalee
Daha Yeni Kayıtlar
Önceki Kayıtlar
Ana Sayfa
Kaydol:
Kayıtlar (Atom)